This terrifyingly quick lesson will cover making the neck, body, arms, hands, legs and feet -- and aim towards creating this nugget:
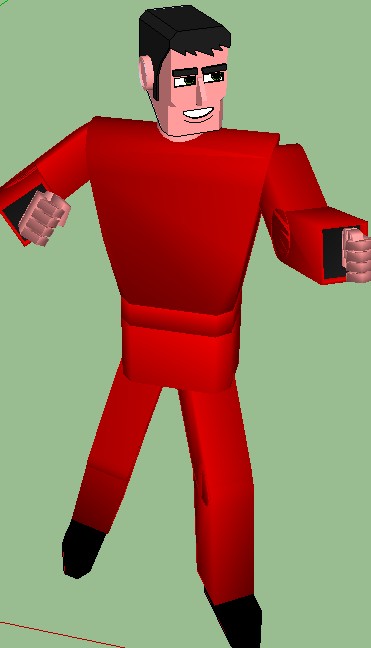
...who might appear as an extra in one of my comics!
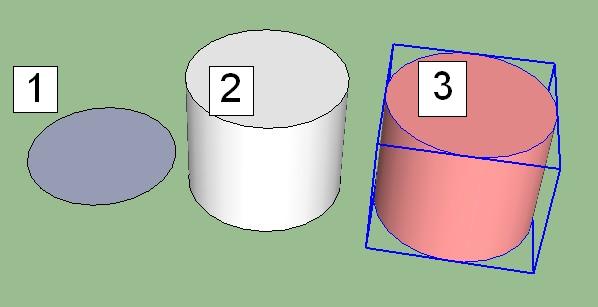
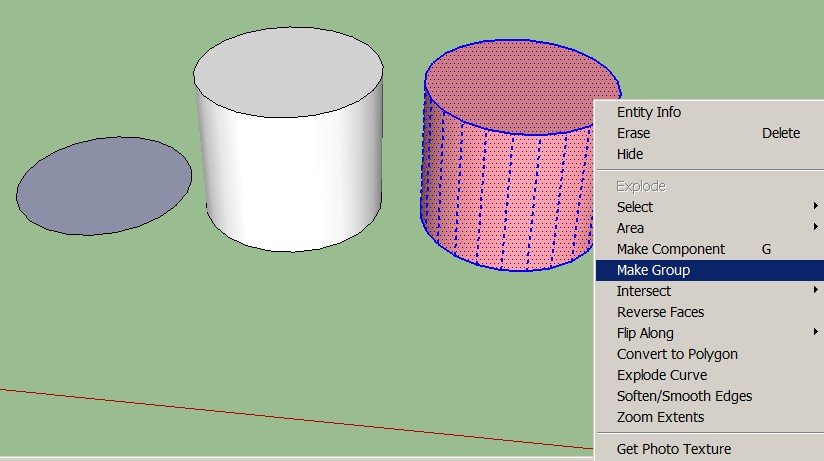
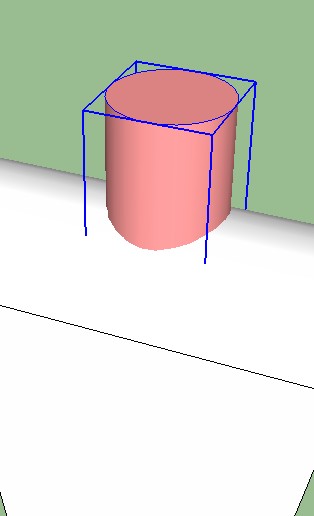
The NeckI started SketchUp and drew a circle, pulled it into a cylinder, painted the cylinder pink, then selected all the elements and made a group:
If you had problems following that, just take a breath, and consider the separate steps:
.....then selected all the pink elements (just by clicking and dragging to trap them) and right-clicked on any of the selected/highlighted elements to get the pop-up menu with the Make Group option.
- Drew a circle on the flat using the Circle tool

- Used the Push/Pull tool
to pull the circle up into a cylinder
- Used the Paint Bucket tool
to paint the cylinder pink
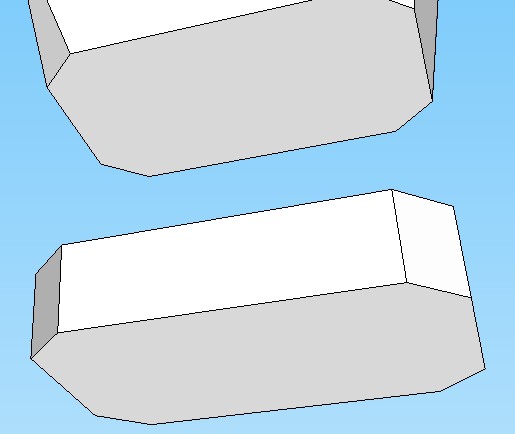
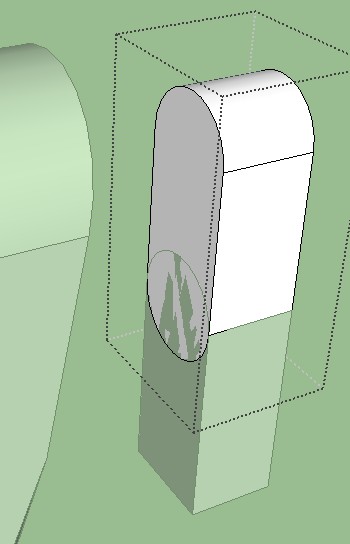
TorsoNext step, the torso. I moved a little further along and drew a couple of rectangles, which I pulled up into prisms:
(Hah, I probably only needed one rectangular prism, but I must have pulled both, so you'll see a second prism in the background in the following shots. If nothing else it gives a reference point when we look at the model from different angles.)
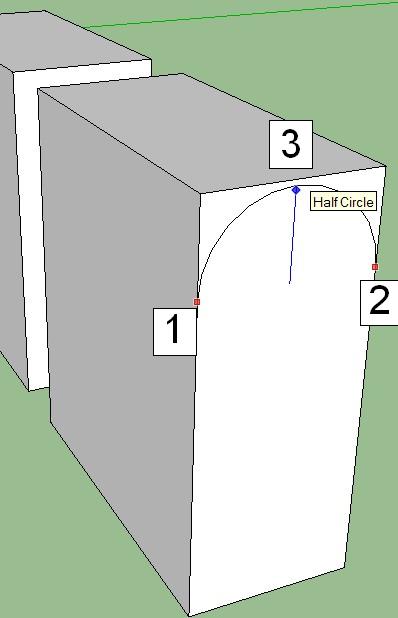
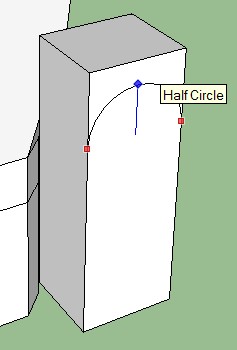
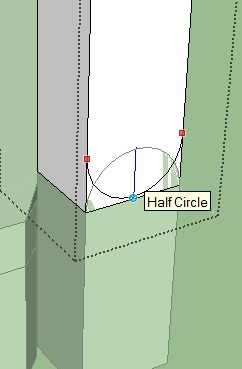
Using the Arc tool
I drew an arc on the side of the rectangular prism (let's just call it "the torso" from now on -- that's what it's going to turn into). I just selected a couple of points on the torso's side, [1] and [2], then moved the mouse up until the arc reached the "half circle" point, and clicked on the torso [3] to fix the arc.
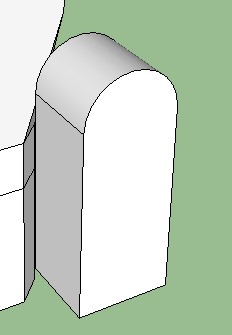
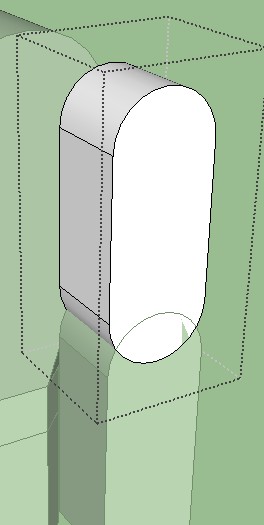
I used the Push/Pull tool
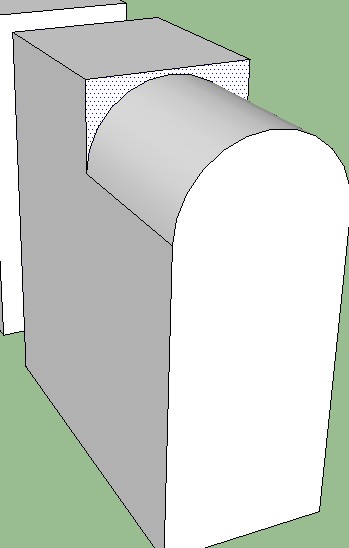
...until the face reached the other side of the torso and its width became zero...
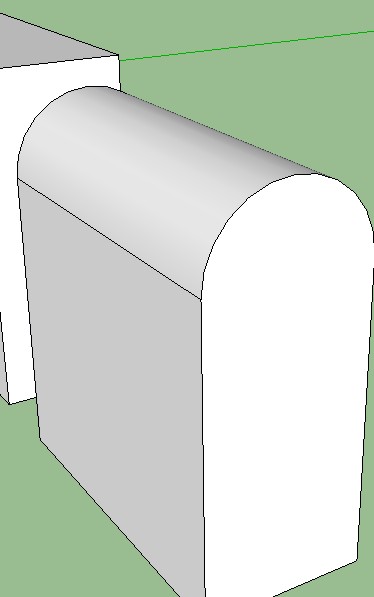
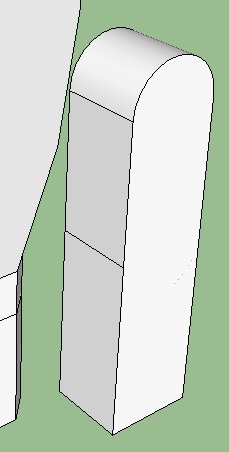
...at which point it vanishes, leaving a half-circle edge along the top of the torso, technically the model's shoulders. More detailed variants can come later, let's just work on a basic model.
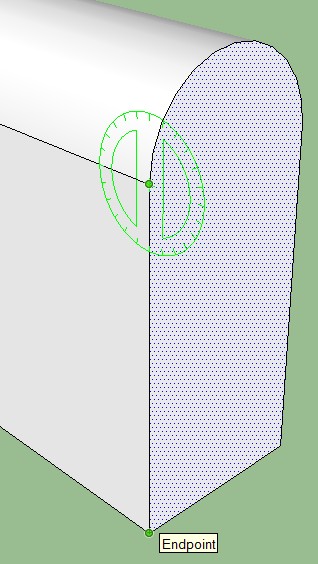
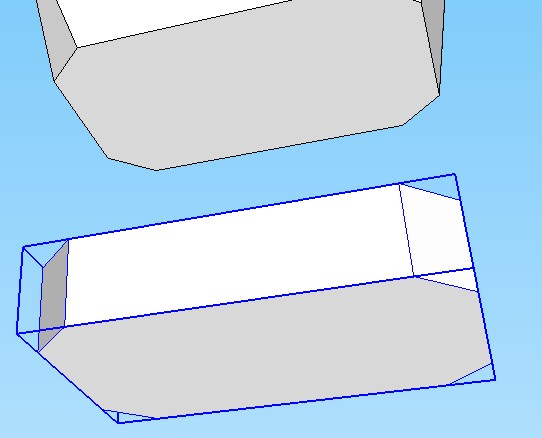
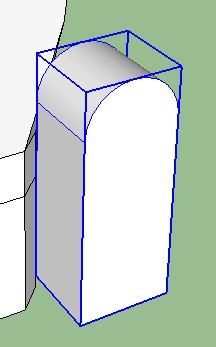
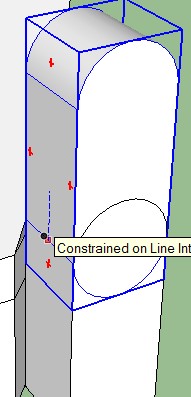
Select the closest face of the torso ([1] below) so it becomes highlighted (tiny dot pattern shading).
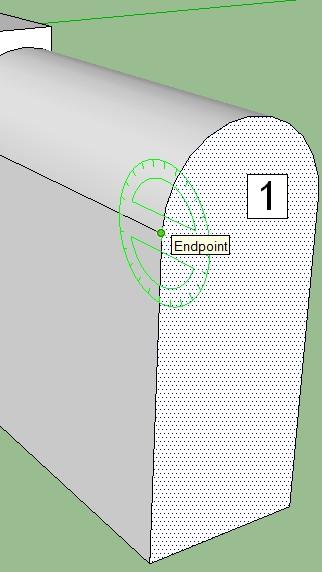
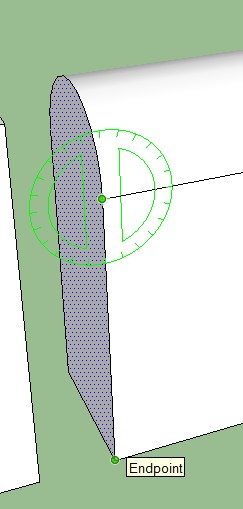
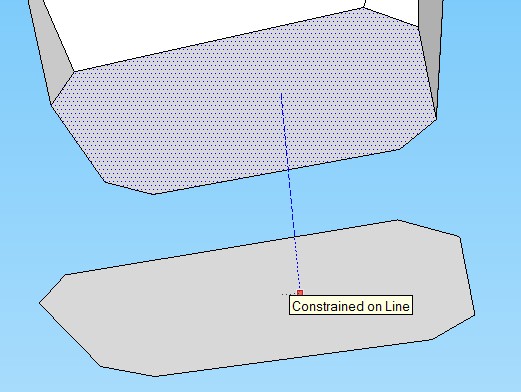
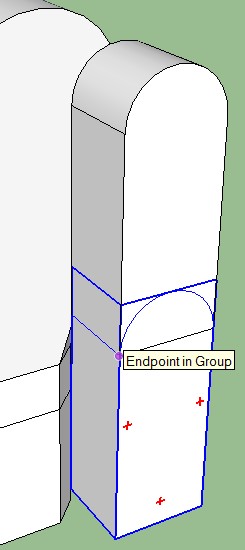
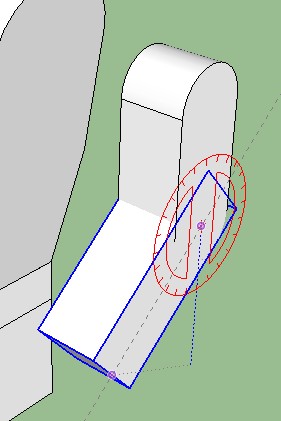
Select the Rotate tool
and affix the protractor to the front of the torso, at the point where the arc end meets the vertical line. If the protractor isn't green (Y axis) then move it around fractionally until it turns green. Select the point to affix the protractor.
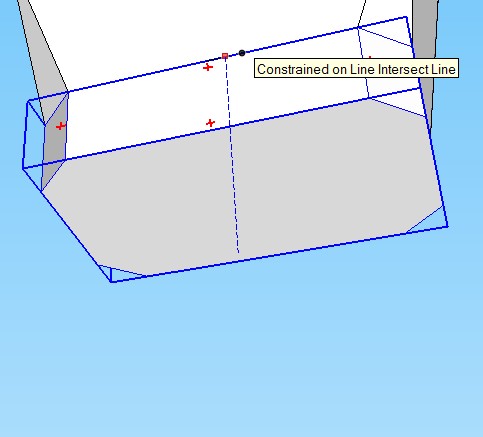
Move the cursor down to the bottom of the vertical line and select the bottom end point:
Move the cursor left so the side of the torso becomes angled to 10 degrees.
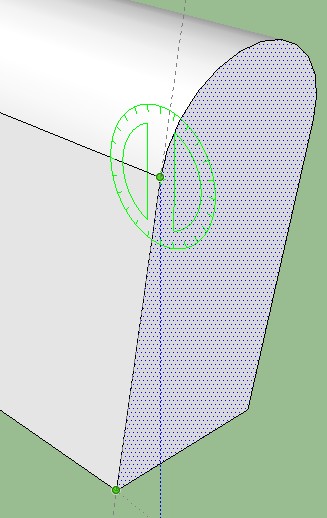
Left-click to fix the angle.
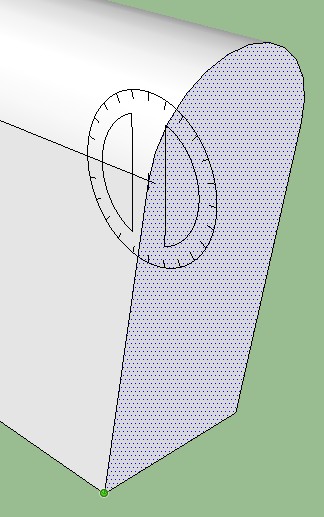
Do the same on the other side of the torso. Rotate tool, affix the green protractor to the point...
Look down at the lower-right corner to check the angle: 
Even if you can't hit 10 degrees exactly, no worries. After the above operation is completed you can enter 10 and SketchUp will adjust the angle to this value.
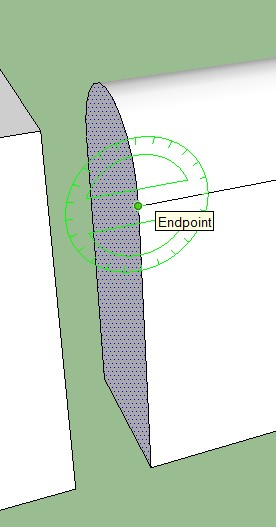
...select the bottom end point...
...and angle the side to 10 degrees:
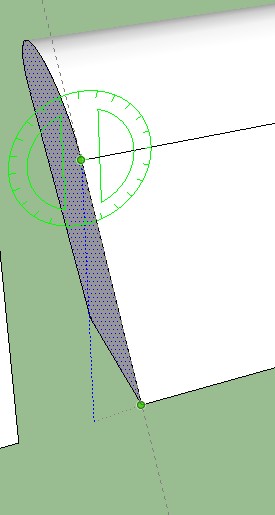
Left-click to fix the angle. If you couldn't exactly get 10 degrees then simply enter 10 and SketchUp will adjust to 10 degrees.
SAVE THE MODEL. Just in case. Good habit. Call it whatever you want, torso1.skp or similar, your choice.
Neck, Meet TorsoYou remember the neck? Let's move it onto the torso.
Select the Move/Copy tool
and select the neck group, then simply move the mouse pointer so the neck is moved up onto the torso's shoulders, roughly halfway along:
Actually that looks as if I've drawn the neck slightly too big, but no worries. Select the Scale tool
then select the neck group, and shrink to a better size:
Yeah that looks better:
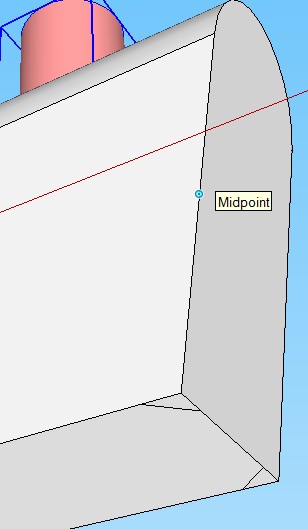
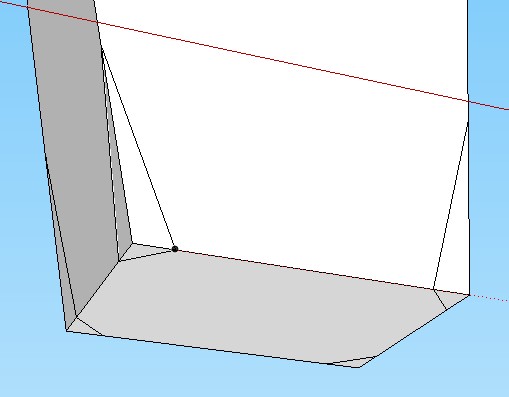
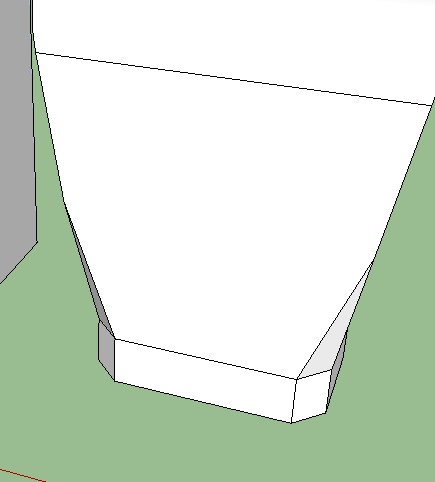
The WaistMy earlier models were just straight blocks -- since then I've learned that the waist looks better if it's cinched (if that's the word)... pulled in slightly at the corners to make a better shape.
Rotating the torso slightly to look at it from underneath -- draw a short corner line:

Ditto at the back...
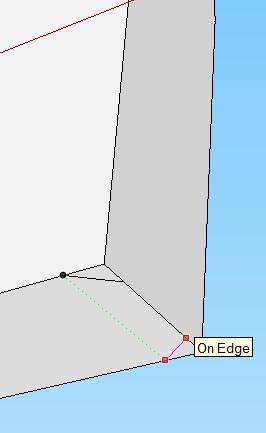
And over to the other side, do the same there...
...so all 4 corners have angled lines:
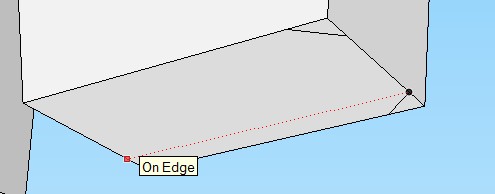
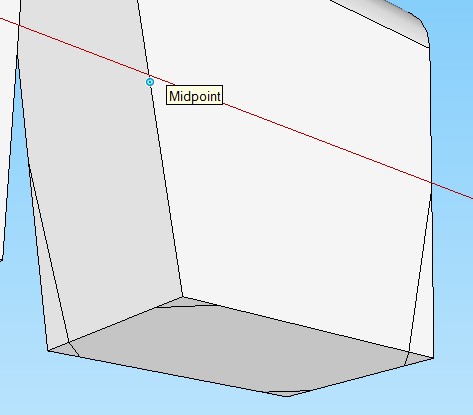
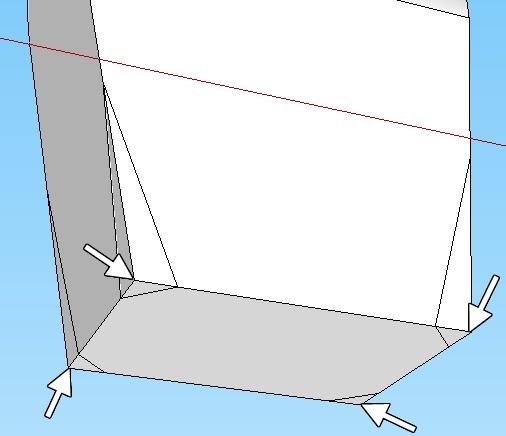
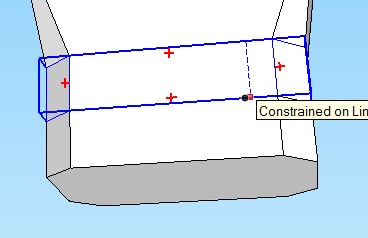
Using the Line tool
draw lines from a point midway up the side...
...down to the bottom corner points...
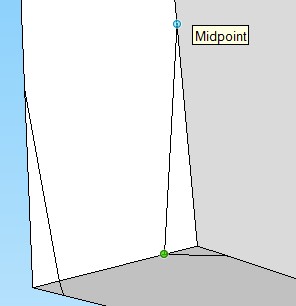
...and repeat this for all 4 lower corners of the torso...
If you ever need to find a point exactly midway along any line, just move the cursor up or down or along the line until the "Midpoint" label appears. SketchUp calculates the midway point for you, making it easy to select the point.
...going around the torso until they're all done.
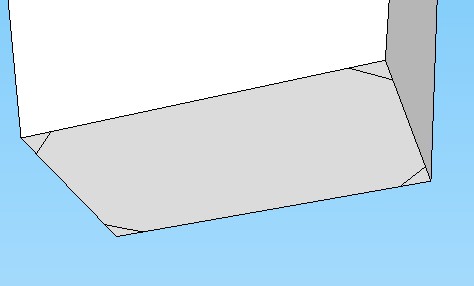
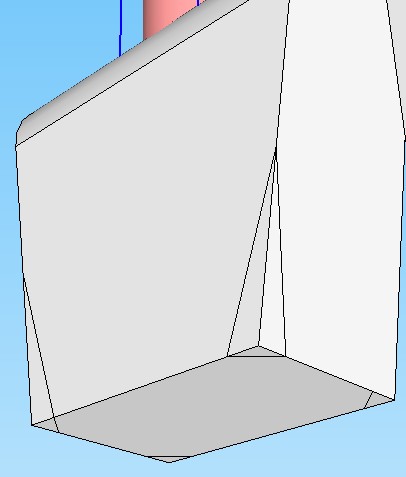
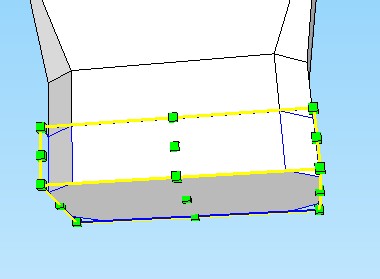
Now use the Eraser tool
to select each of the corner points as marked below...
...so the corners are trimmed away leaving the bottom of the torso looking like this:
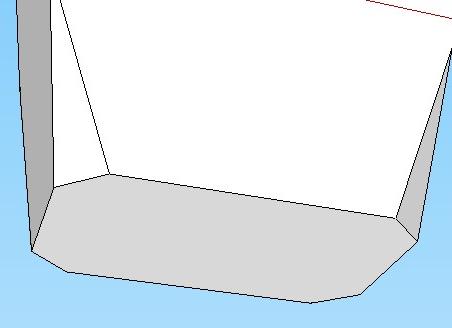
This is going to look better than square corners once the model is posed.
SAVE THE MODEL.
Adding A WaistbandOr a belt, or however you like to think of the mid-section.
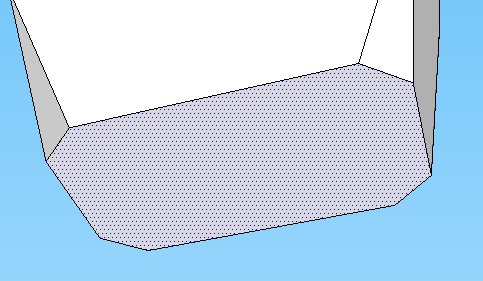
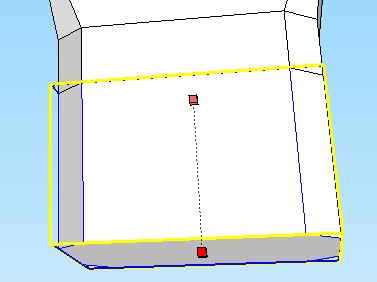
Looking at the torso from below, select the lower face so it becomes highlighted (tiny dot pattern shading).
Select the Move/Copy tool
Use the Push/Pull tool
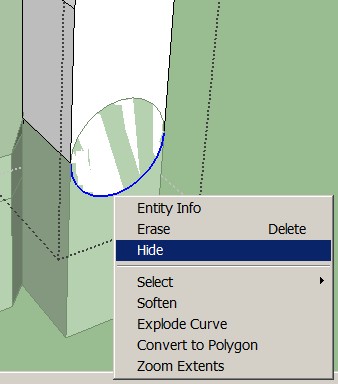
Select/trap the waistband and make it into a group. (Once the elements are highlighted, right-click on any of the highlighted elements and select Make Group.)
Move the waistband group up so it touches the torso. Select the Move/Copy tool
Another quick way to select a group of elements like this -- as long as they aren't touching other elements -- is to right-click on any element in the group, and from the pop-up menu, select Select and then All Connected. SketchUp will calculate all the connected elements and highlight them all, so you only have to right-click on any highlighted element and then select Make Group from the pop-up menu.
Which gives us the torso with waistband:
SAVE THE MODEL.
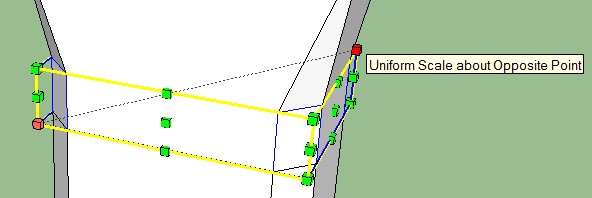
Adding HipsCopy the waistband group down so it's below the original group. Use the Move/Copy tool
Use the Scale tool
Now that the upper torso, waistband and hips have been made, an edit to the waistband is in order, to make the waistband slightly bigger, so it appears to encircle the waist. Use the Scale tool
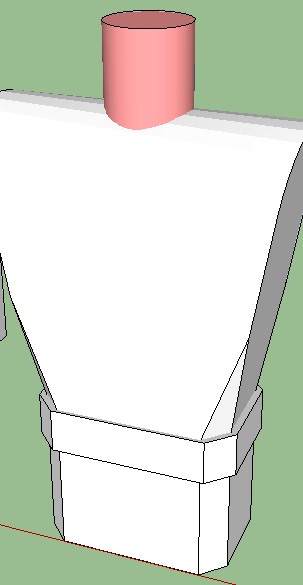
Which gives us the complete torso, with angles that look more natural (arguably!) than a square block model:
SAVE THE MODEL.
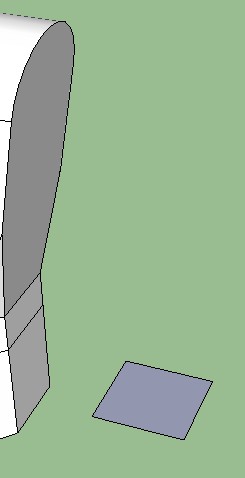
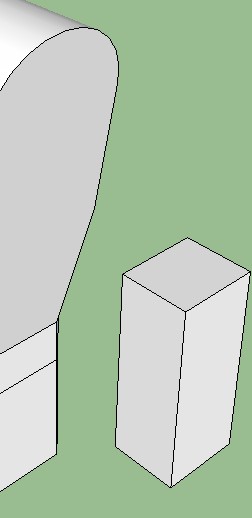
Arms and HandsLet's kick off with a forearm.
Draw a square using the Rectangle tool
:
Use the Push/Pull tool
Use the Arc tool
Use the Push/Pull tool
Select all elements in the forearm and make a group:
Upper ArmMake a copy of the forearm group, above the original group.
Select the forearm group. Select the Move/Copy tool
Edit the copy you just made (right-click on the upper group, select Edit Group) and use Arc tool
Use the Push/Pull tool

Next step: coming soon!Intro | Heads | Eyes | Eyebrows | Copying Eyes & Eyebrows | Noses | Mouths | Hair & Ears
The Body