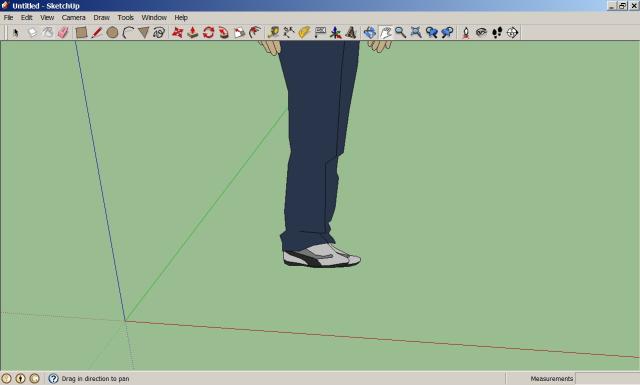
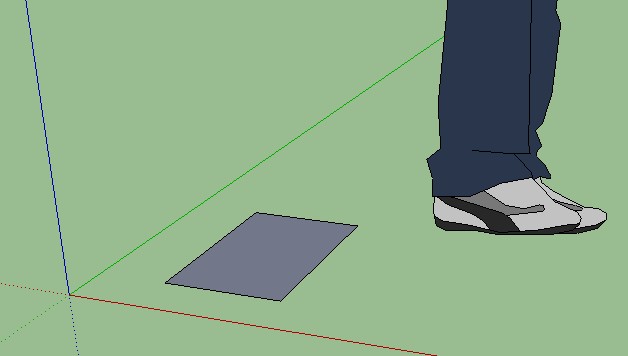
When I create a model I start with the head, not surprisingly, since other parts of the body are usually proportional to this.Zoom in using the mouse wheel, so you're near the axes origin, and sample guy's feet:
If you hold down the mouse wheel and move your mouse left and right, you'll see how the POV shifts. You can whirl models around to look at them from any angle with a couple of sweeps of the mouse.
SketchUp supports materials and textures which means you can make any surface appear like metal or brick or whatever. But, when the Face Style is set to Shaded With Textures (which is the default on startup), the display can slow down slightly.
When I work with models I switch this off by going into menu View > Face Style and clicking on Shaded:
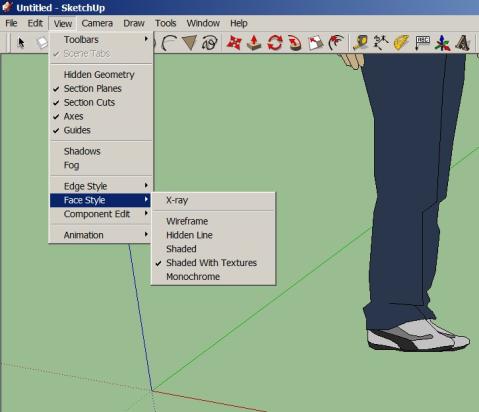
...which displays surfaces as color shades instead of textured. When you start building more complicated models with several characters, props and backgrounds, this really does make a difference (or it does on my 1.6MHz/2Gb laptop, anyway).
When I'm ready to take a snapshot for a comic panel, it only takes a second to select View > Face Style > Shaded With Textures so the textures display again.
Making The Head
Just to give you some idea of where I'm going with this, the goal in this and subsequent guide sections is to create something like this guy:
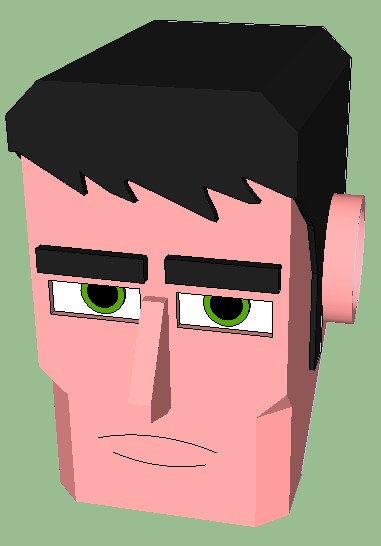
He's just one face, one head, out of a thousand or more possible variants. By the time you work your way through this guide at your own speed, you'll be knocking off this kind of thing in a few minutes. Seriously.
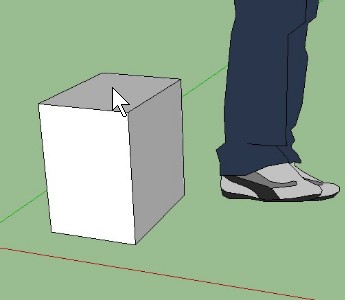
To start off the head we're about to make, select the Rectangle tool:
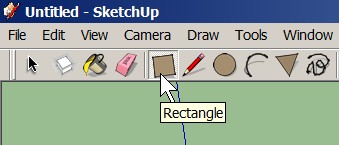
...and draw a rectangle on the ground, near sample guy's feet. (The head can be moved into correct position later, it's just easier to draw elements on the "ground" rather than in mid-air.)
Select the Push/Pull tool
and position your cursor on top of the rectangle, hold down the Left mouse button, and move the pointer up, so the rectangle is pulled up into a rectangular prism:
Note: my screen capture software isn't capturing SketchUp's unique cursors, which change with every tool. Bit of a pain but I hope you can still follow the guide.
Select the Paint Bucket tool
and select a skin tone from the color palette:

I usually select a middle pink 'cause that's approximately closest to the color I see when I think of myself as a cartoon comic character, of course you should use the color of your choice. And at any time, colors can be edited to suit whatever you're creating.
Apply the selected color by moving the paintpot cursor onto any surface of the rectangular prism, holding down the Ctrl key, and clicking the Left mouse button, so all surfaces take on the selected color:
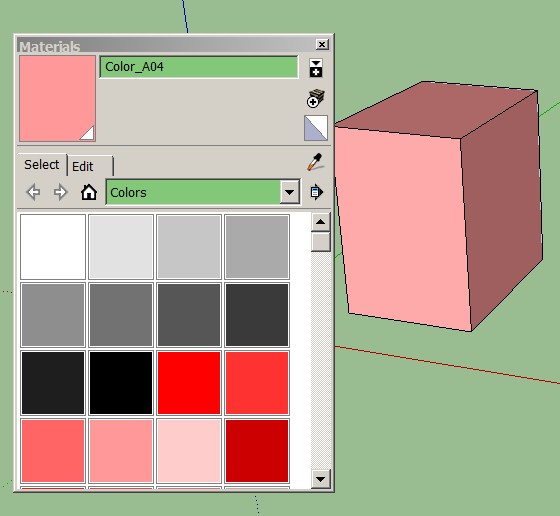
If you don't hold down the Ctrl key then only the one selected surface will color. Ctrl is like a group select -- all adjoining surfaces also took on the same color.

This might seem a little basic, but now you have a primitive head shape, you can add eyes, nose, mouth, etc.
This piece of advice may be coming a little early given that all we've got so far is a rectangular prism, but I'm saying it so you get into the habit early:SAVE THE MODEL.
Give it a number and letters suffix (I would suggest) so you can easily tell it apart from earlier models. I usually accumulate several versions of models as I add more and more detail, starting with modelname1 and working up through 1b, 1c, etc. Whenever there's a big edit I'll increment the number, e.g. modelname2 and start working up through the letters again.
Next step: EyesIntro | Heads | Eyes | Eyebrows | Copying Eyes & Eyebrows | Noses | Mouths | Hair & Ears